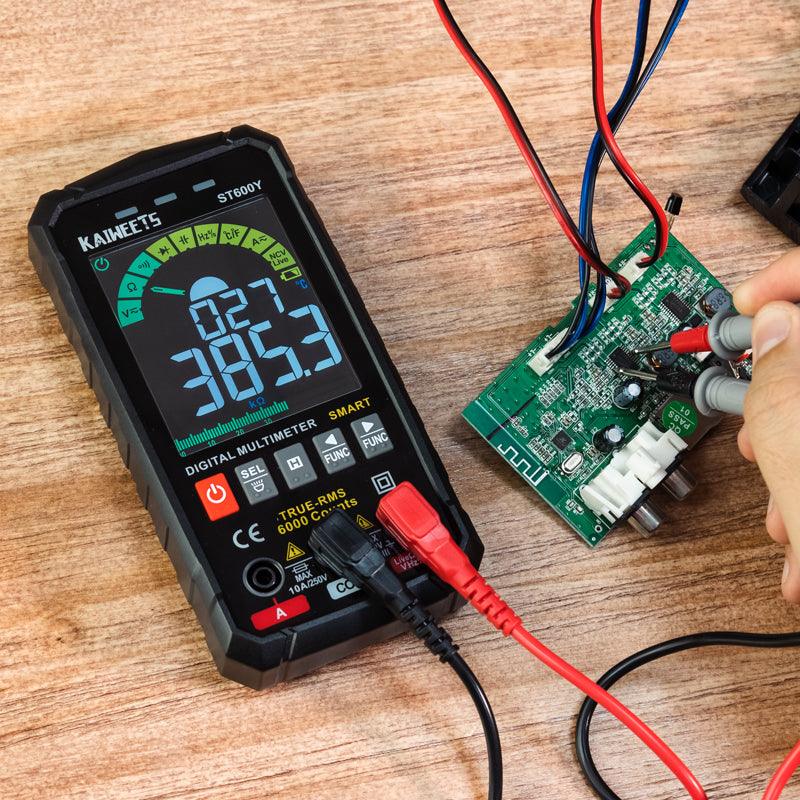
Why Test a Motherboard with a Multimeter?
Have your computer ever refused to turn on or experience random shutdowns that leave you scratching your head? The motherboard could be the problem! Since it connects all the major components, such as the CPU, RAM, and power supply, the entire system might fail if it glitches.
That’s where a multimeter becomes your best friend. It’s a simple tool that lets you check if your motherboard is getting the right power or if something like a short circuit is causing issues. Don’t worry if you’re not a tech expert, I’ll walk you through the process step-by-step.
Catch Issues Early Before It’s Too Late
Testing the motherboard isn’t just about finding faults. It’s also about preventing bigger problems. If your PC shows symptoms like the blue screen of death (BSOD), frequent restarts, or complete failure to boot, the motherboard might be giving you signals that it’s in trouble.
Why Should You Use a Multimeter?
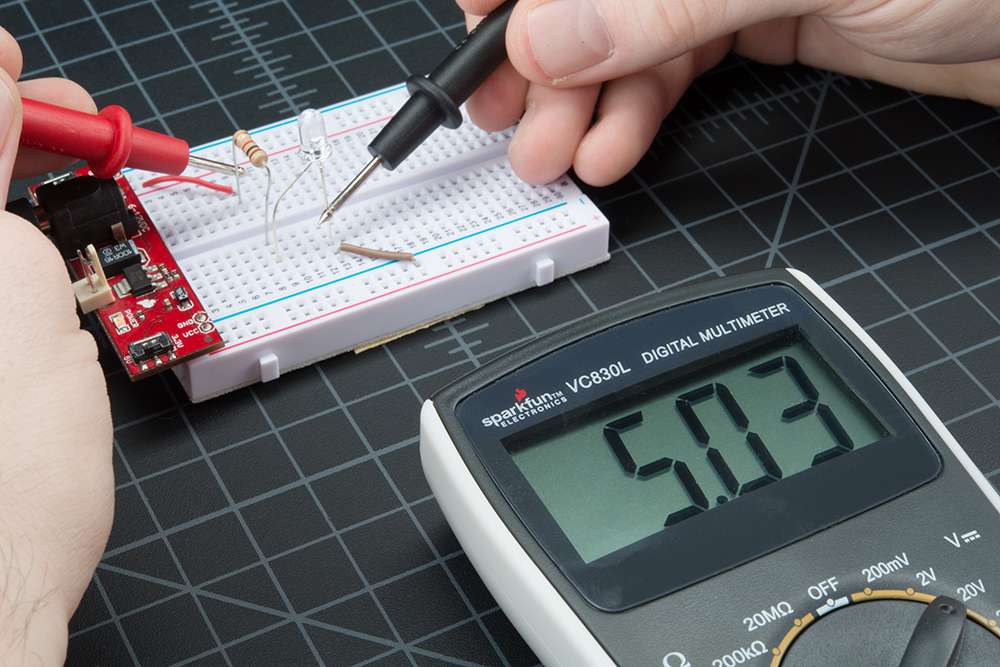
A multimeter is a small device that measures voltage, current, and resistance. Think of it as a stethoscope for your computer. It helps you see what’s happening inside the power circuits and find problems like low voltage or short circuits.
Spot the Symptoms of a Faulty Motherboard
Here are a few warning signs to watch out for that indicate your motherboard might need testing:
- No power: The computer doesn’t turn on at all.
- Boot loops: It turns on and off repeatedly without loading the OS.
- Blue screen errors: Your system crashes frequently with a BSOD.
- No display: The fans are spinning, but the monitor has no signal.
Testing the motherboard with a multimeter can help you figure out whether it’s time to repair or replace it or if another part, like the power supply unit (PSU), is causing the issue.
Essential Tools and Safety Measures
Get Ready: Tools You’ll Need Before Testing
Before you do testing, it’s important to have the right tools by your side. Here’s what you’ll need:
- Multimeter: Your main tool for measuring voltage, current, and resistance. Even an affordable one will do the job.
- Screwdriver: Helps you open the computer case and access the motherboard.
- Antistatic Wrist Strap: Prevents electrostatic discharge (ESD), which could damage sensitive components.
- Motherboard Manual: A handy guide to understand the pin layouts and specs. Most manuals are available online if you don’t have a physical copy.
Safety First: Stay Safe While Testing
When testing electrical components, safety comes first. It’s still important to follow a few basic precautions:
- Unplug the Computer Completely: Don’t just turn it off remove the power cable entirely.
- Discharge Capacitors: Some components, like the power supply, can hold a charge even after the computer is unplugged. Press the power button for 10-15 seconds to discharge any leftover energy.
- Wear an Antistatic Wrist Strap: Static electricity from your body can easily fry delicate components. An antistatic wrist strap ensures this doesn’t happen.

Desktop vs. Laptop Motherboards: Key Differences
If you’re working with a desktop, testing is usually straightforward most components are easily accessible. But with laptops, things can get a bit tricky. The motherboard is tightly packed with other components, so you might have to remove several parts (like the keyboard or battery) just to reach it.
Here are a few tips:
- Desktop Motherboard: Test the power connectors first since they are easily accessible.
- Laptop Motherboard: Be cautious when disassembling it use a small screwdriver and keep track of the screws and components you remove.
Initial Checks Before Testing the Motherboard
Check for Easy Fixes First
Before doing multimeter testing, it’s a good idea to rule out common issues that could cause your system to malfunction.
Start with these simple checks:
- Is the power cable firmly plugged in? Sometimes, loose connections cause power issues.
- Try another power outlet: The outlet could be faulty, not the computer.
- Test with a different power supply: Power Supply Units (PSUs) often cause problems especially if they are older or low-quality.
Look for Visual Clues on the Motherboard
Open your PC case and inspect the motherboard closely. Sometimes the problem is visible! Here are a few things to look for:
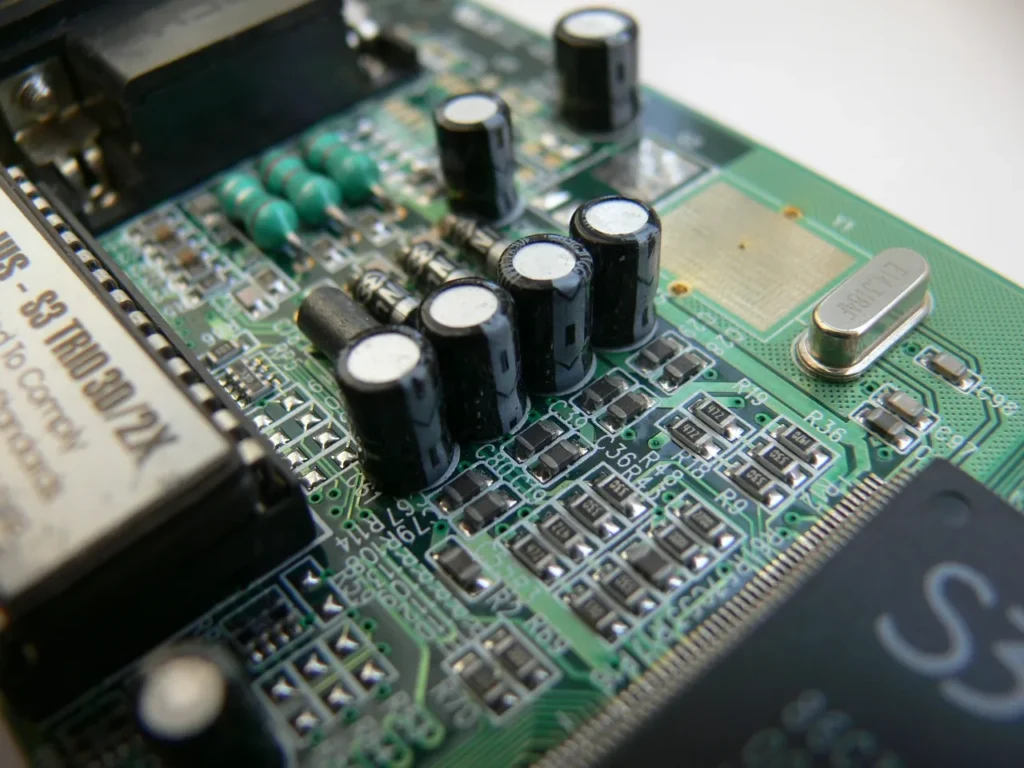
- Bulging or leaking capacitors: These are a common cause of motherboard failure.
- Burn marks or unusual smells: Signs of a short circuit.
- Loose or corroded connectors: These could interrupt the power flow.
If you spot any of these signs, testing with a multimeter will confirm whether the motherboard is still usable or if it’s time to replace it.
Test the Power Button and Cables
Before testing the motherboard directly, rule out some smaller issues:
- Power Button: Check if the power button on your case is faulty by shorting the power switch pins with a screwdriver.
- Cables: Inspect SATA cables and power connectors to ensure everything is seated correctly. A loose connection could mimic motherboard failure.
Step-by-Step Guide: How to Test a Motherboard with a Multimeter
Prepare Your Multimeter
Before you start testing, make sure your multimeter is ready to go. Here’s how to set it up:
- Turn on the multimeter.
- Select the DC voltage setting. This is usually marked as “V” with a straight line next to it.
- Ensure the probes are correctly plugged in: the black probe in the COM port and the red probe in the VΩ port.
Example: If you see a setting that looks like 20V, that’s a good range to start with since most motherboard voltages will be lower than that.
Testing the Power Supply to Ensure Proper Voltage
Now, let’s check the power supply, as it’s crucial for the motherboard’s functionality.
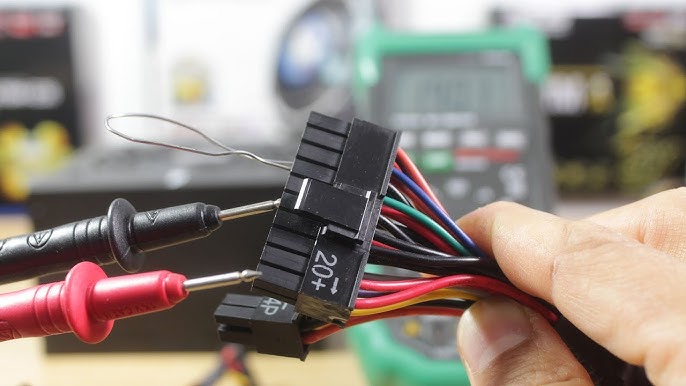
Step 1: Access the 24-Pin ATX Connector
- Carefully unplug the 24-pin ATX connector from the motherboard. This is the large connector that supplies power to the motherboard.
Step 2: Test Specific Pins
- Use your multimeter probes to test the following pins:
- Pin 9 (VSB): This should read around 5V.
- Pin 14 (PS On): This should read between 3-5V when the power supply is turned on.
- Pin 8 (Power OK): This should show a voltage greater than 2.5V.
If the readings are as expected, your power supply is functioning correctly.
Checking for Short Circuits on the Motherboard
Next, let’s check for short circuits, which can be serious issues.
Step 1: Set the Multimeter to Continuity Mode
- Switch your multimeter to continuity mode. This setting often has a symbol that looks like sound waves.
Step 2: Test Ground Pins
- Find a GND pin on the motherboard and touch one probe to it.
- Use the other probe to test various power connector pins (e.g., those from the PSU). If the multimeter beeps, it means there’s a short circuit or connection where it shouldn’t be.
Step 3: Inspect for Physical Damage
- Look closely at the motherboard for damaged components like burnt areas or blown capacitors. These can indicate short circuits and may need replacement.
Troubleshooting Tips for When Readings Are Off
Understanding Your Readings
If you’ve tested your motherboard with a multimeter and the readings aren’t what you expected, don’t panic! Here are some common issues that might cause incorrect readings and how to address them.
Common Issues and Solutions
1. Low Voltage Readings
If you find that the voltage readings from the motherboard pins are significantly lower than expected (e.g., less than 4.75V for the +5V line):
- Possible Causes:
- A failing power supply can lead to inadequate voltage delivery.
- Loose or damaged cables might interrupt the power flow.
- What to Do:
- Double-check all connections, ensuring they are secure.
- If you suspect the power supply, consider testing it with another unit or using a power supply tester.
2. Inconsistent Readings
If the voltage fluctuates when you measure it:
- Possible Causes:
- Poor contact with the probes or dirty connection points can affect readings.
- A failing component might create unstable readings.
- What to Do:
- Clean the connection points with isopropyl alcohol and ensure good contact with the probes.
- Test with another multimeter to rule out a faulty tool.
Short Circuit Warnings
If your multimeter indicates a short circuit, here’s what to look for:
- Physical Inspection:
- Check for any burnt components, swollen capacitors, or damaged traces on the motherboard.
- Look for foreign objects or debris that might cause unintended connections.
- Isolation Test:
- Remove all components connected to the motherboard (like RAM, GPU, and drives) and test again. If the short is gone, one of the components may be the issue.
Boot Issues After Testing
If the motherboard still won’t boot after testing:
- Recheck Power Supply: Ensure that the power supply is functioning properly.
- Examine Components: Test each component separately. For instance, take out the RAM and test if the motherboard beeps or shows signs of life.
- Consult the Manual: Your motherboard manual can provide specific troubleshooting steps based on the error codes or beep codes you’re experiencing.
Final Thoughts on Motherboard Testing
Testing a motherboard with a multimeter can save you from bigger problems by identifying issues like power failures or short circuits early. By following safety steps and using the right tools, you can check for signs of damage and ensure your computer’s components work properly. Remember to rule out simple fixes first, like loose cables or a faulty power supply, before diving into detailed tests. This process helps you decide if repairs or replacements are needed to keep your system running smoothly.
Take Action: Test Your Motherboard Today!
Now that you have all the tools and knowledge, it’s time to put them into action! Grab your multimeter and follow the steps outlined in this guide to test your motherboard. Whether you’re troubleshooting a persistent issue or just want to check the health of your system, taking these steps can save you time and money. Don’t hesitate to revisit the troubleshooting tips if things don’t go as planned. You’ve got this!
